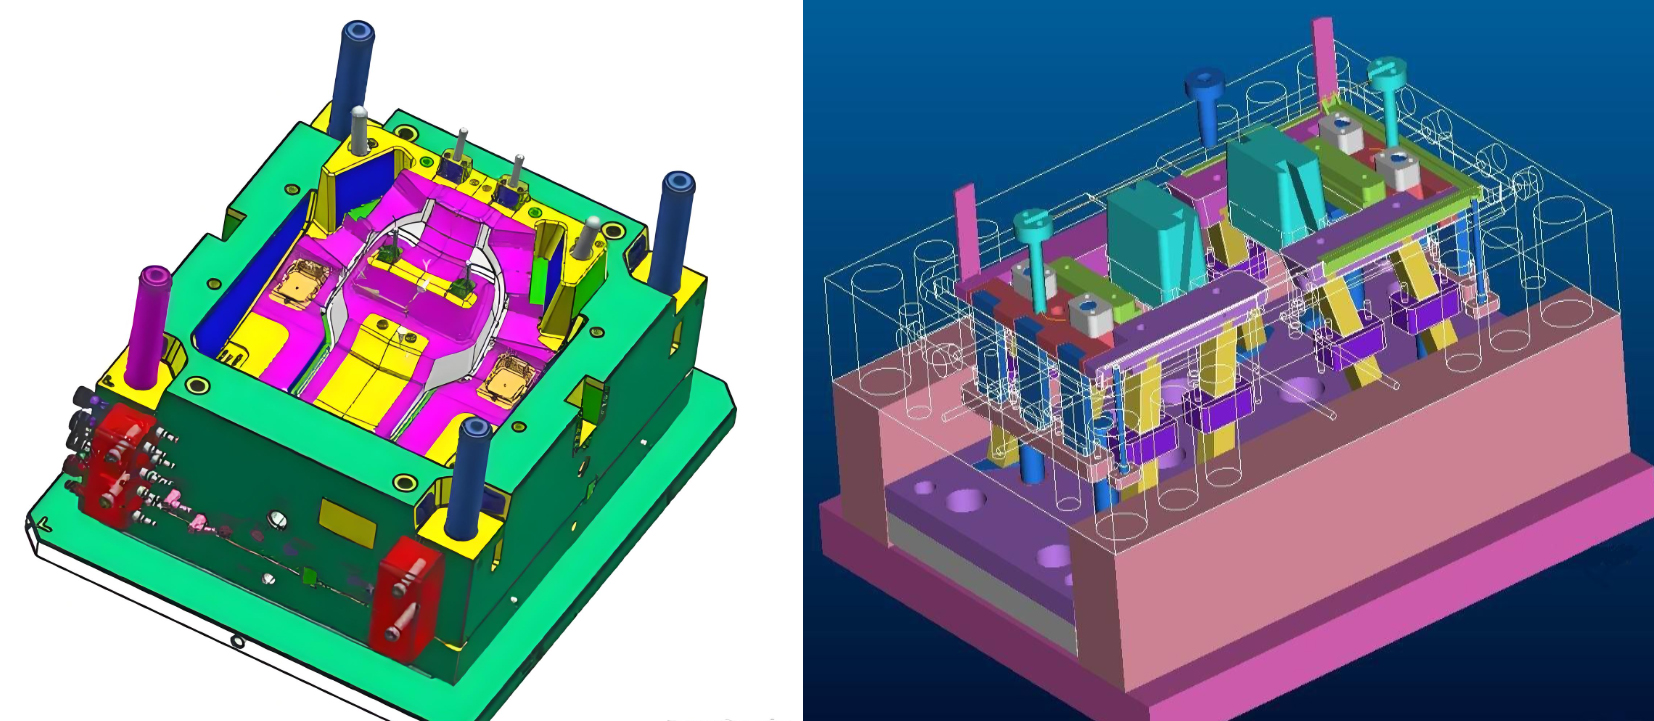
Injection mold standardization of the five types of mold requirements
I. Mold Design Requirements
Product Analysis
Thoroughly understand injection - molded product functions, appearance needs, and dimensional accuracy. For high - appearance - requirement products like automotive interior parts, mold surface roughness should be Ra0.8 - Ra1.6μm.
Analyze product demoulding methods. Cylindrical products may suit push - plate demoulding to avoid deformation.
Die Structure Design
Design the mold parting surface rationally. It should ensure smooth product release and minimize flash. For appearance - sensitive products, place the parting surface inconspicuously.
Decide on appropriate gate location and type. Hot - runner gates reduce waste but cost more; side gates are simple but may leave marks. Pin - point gates are good for transparent plastics.
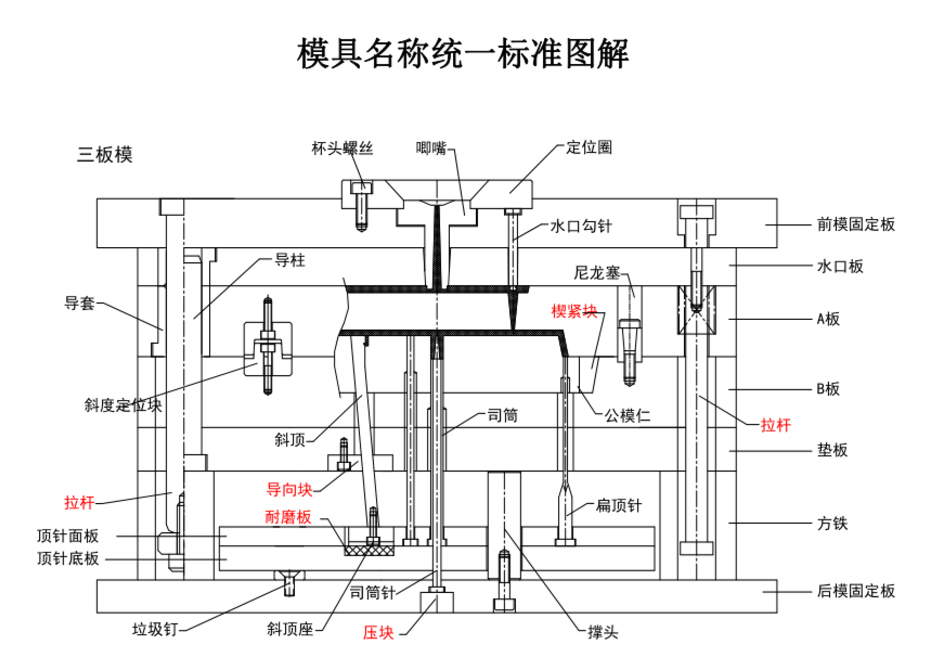
Design a mold frame with sufficient strength and stiffness. Choose its size based on mold size and injection pressure. Large molds need thicker, stronger frames.

Size Standard
Dimension mold parts following national or industry standards. Use IT6 - IT9 tolerances for mold cavity sizing to ensure interchangeability and assembly accuracy.
Adopt standard hole, shaft, etc. dimensions. For example, guide - column and guide - sleeve diameters should be standard for easy tool selection and replacement.
Cooling System Design
The cooling system should control mold temperature effectively and evenly. Cooling - pipe diameter (8 - 12mm), spacing (3 - 5 times pipe diameter), and distance from the cavity surface (10 - 15mm) ensure efficiency and shorten the injection cycle.
Layout cooling pipes to avoid interfering with other mold structures like thimbles and sliders.
Ejector System Design
The ejector system should distribute force evenly. Determine thimble number, position, and diameter based on product shape, size, and material. Flat - panel products need more evenly - spaced thimbles.
Ensure sufficient ejector travel, usually over 1/3 of product height, and avoid collisions during mold opening and closing.
Slider with Sloping Top Design
Slider and inclined - top structures should be compact and move flexibly. Use T - slots or dovetail - slot guides. Design the inclined - top angle (usually ≤15°) to prevent jamming.
Select appropriate materials like hardened Cr12MoV (HRC58 - 62) for high - yield molds.
Exhaust System Design
Design exhaust channels to remove air and gas. Options include gap exhaust (0.02 - 0.05mm gap at parting surface), exhaust - tank exhaust, or breathable steel. Set up exhaust grooves (0.03 - 0.08mm deep) as needed.

Mold Material Selection
Choose mold materials based on working conditions. For high - pressure, high - wear parts like cavities and cores, use quality die steels. P20 for general molds, H13 for high - temperature, high - pressure ones.
Select ordinary structural steel like 45 steel for die - frame auxiliary parts and heat - treat for better performance.
II. Mold Manufacturing Requirements
Process Planning
Create a reasonable processing route including roughing, finishing, and EDM. For mold cavities, rough first, then semi - finish, and finally finish to ensure accuracy and surface quality.
Determine processing allowances. Roughing allowance is 1 - 3mm, and finishing is 0.1 - 0.5mm.
Cutting Requirement
Select cutting tools appropriately. Use carbide tools for hardened steel and high - speed steel for aluminum alloy.
Set cutting parameters (speed, feed, depth) reasonably. For die steel, speed is 50 - 100m/min, feed 0.1 - 0.3mm/r, and depth 0.5 - 2mm.
Requirements for EDM
Design EDM electrodes accurately, considering the 0.05 - 0.2mm discharge gap.
Adjust EDM parameters (current 10 - 50A, pulse width 10 - 100μs) for good surface quality and accuracy.
Die Surface Treatment
Conduct surface treatments like nitriding (to improve hardness, wear, and corrosion resistance; surface hardness can reach HV900 - HV1200) or hard - chrome plating (layer thickness 0.02 - 0.05mm, hardness HV800 - HV1000).
Precision Control of Die Parts
Strictly control part dimensional accuracy. Use calipers, micrometers, etc. Key dimensions should have ±0.01mm tolerance.
Ensure part shape accuracy. Parting - surface flatness should be within 0.03mm.
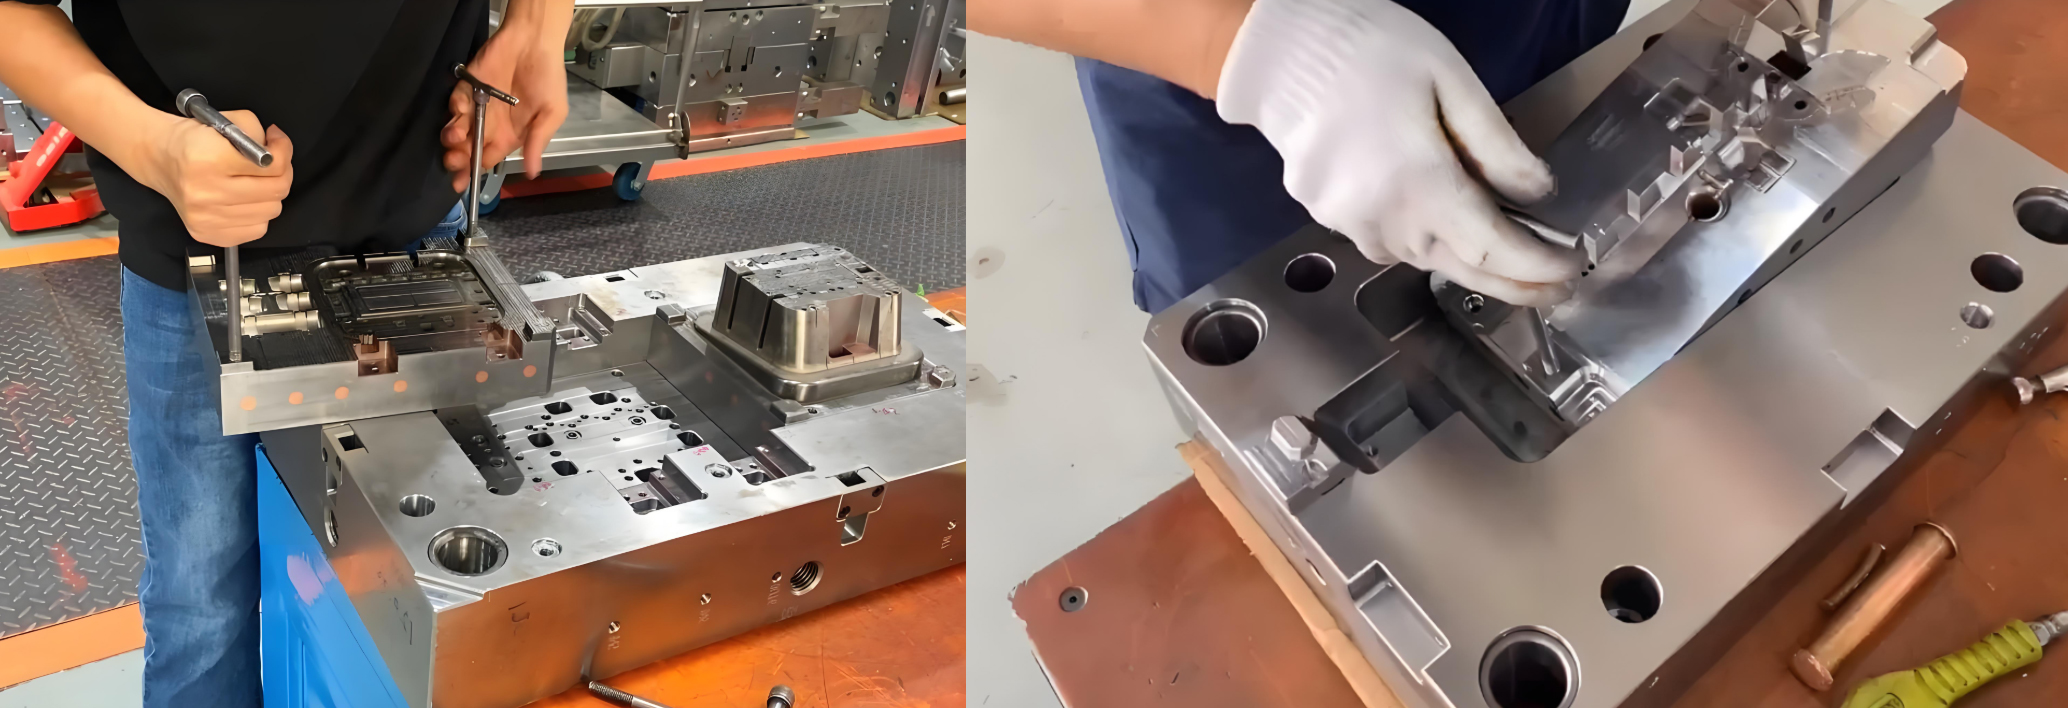
Die Assembly Requirements
Clean parts before assembly to remove impurities and apply rust - prevention.
Assemble according to the drawing, ensuring correct part positions. Guide - post and guide - sleeve concentricity should be within ±0.03mm.
Make adjustments during assembly, such as thimble height (flush or 0.05 - 0.1mm higher than cavity bottom).
Die Debugging Requirements
Check mold opening/closing flexibility, ejector system operation, and cooling/exhaust system smoothness before debugging. Opening speed is 30 - 50mm/s, closing is 20 - 40mm/s.
Observe plastic - melt filling and product molding during injection - molding debugging. Adjust the mold (gate size, cooling time) until product quality meets requirements.
III. Mold Documents and Management Requirements
Mold Drawing Specification
Mold drawings should follow national standards in format (A0 - A4), proportion, view selection, and size labeling.
Mark part materials, heat - treatment, and surface - treatment requirements. For example, P20 steel with quenching + tempering (HRC30 - 35) and 0.05 - 0.1mm nitriding.
Mold Technical Documentation
Prepare a mold design specification explaining design ideas, structural features, and size determination.
Create mold - processing process documents with processing routes, allowances, and cutting parameters.
Die Part Identification
Clearly identify mold parts with name, number, and material. Use stamping, engraving, or labels. Stamp "cavity", "CX - 01", and "P20" on cavity parts.
Mold File Management
Set up mold files with design drawings, technical documents, processing, and debugging records. Manage them digitally for easy access.
Mold Maintenance and Maintenance Documentation
Prepare a maintenance manual with daily tasks, maintenance cycles, and vulnerable - part replacement methods. Clean the mold after each production and check the cooling system weekly/monthly.
IV. Mold Quality and Performance Requirements
Die Life Requirement
Molds should have sufficient lifespan. General injection molds need 300,000 - 1,000,000 cycles; high - precision molds like optical - lens ones may need millions. Improve lifespan through proper design, quality materials, and correct manufacturing.
Product Quality Consistency
Product quality from the mold should be consistent. Control key - dimension tolerance within ±0.1mm and avoid surface defects. Regularly check and maintain the mold.
Injection Molding Cycle Requirements
Molds should meet injection - molding cycle needs. Shorten the cycle (10 - 60 seconds for general molds) by optimizing cooling and gate/runner design.
The Interchangeability of Molds
Mold parts should have good interchangeability. Thimbles, guide posts, etc. of the same type should be replaceable, meeting dimensional and matching - accuracy requirements.
Mold Safety
Consider mold operation safety. Set up protective fences in mold - opening/closing areas and avoid sharp corners and part - ejection risks.

V. Mold Acceptance Requirements
Visual Inspection
Check mold appearance: surface roughness, color, and logo. The surface should be smooth, free of scratches and rust. The logo should be clear.
Inspect part assembly for tightness. Check if screws are tightened and part - fit clearances are correct.
Dimensional Accuracy Check
Use tools to check key mold dimensions like cavity, core, and guide sizes. Analyze and correct out - of - tolerance dimensions.
Check shape accuracy (flatness, straightness, roundness). Use a level for parting - surface flatness and a dial indicator for guide - post straightness.
Functional Check
Check mold opening/closing flexibility and ejector - system function. The ejector force should be sufficient.
Test cooling and exhaust systems. Cooling pipes should be smooth, and exhaust channels should work effectively.
Product Quality Inspection
Test - mold products. Product dimensional accuracy, appearance, and physical properties should meet design requirements. Check for uniform wall thickness and surface defects.
